Concrete Pile Solar Mounting System
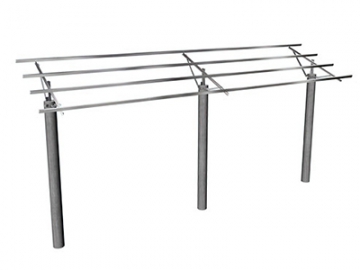
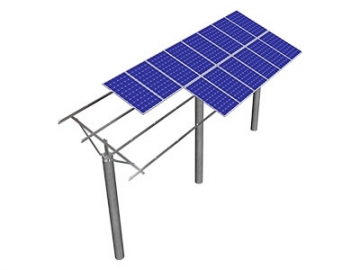
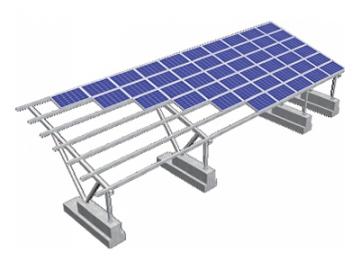
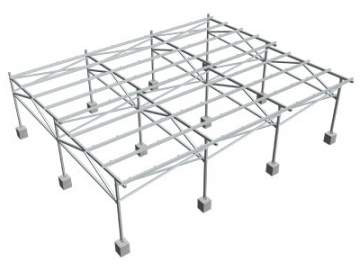
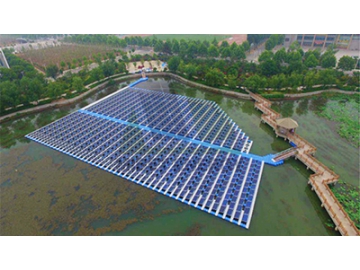
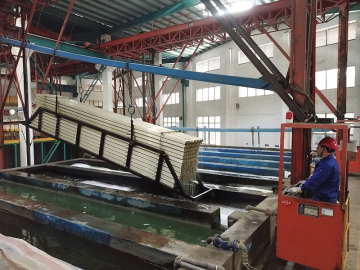
The solar panel ground mount racking system for fish farms combines the post and base plate to ensure the mechanical strength and overall stability of the racking system. A hot-dip galvanizing process is carried out to obtain a better corrosion resistance and longer service life, because this solar racking system is installed close to water. The cooling effect caused by the nearby water is improved by 5 points in comparison to a ground mount solar racking system, and we offer the right system for your fish farm based on your needs, including different properties, lighting requirements for fishing, and fishpond shading areas.
- Ground-Mounted System
- Mounting Angle
- Water Surface Clearance :400~2000mm
- Applicable Solar Panels: framed panels & frameless panels
- Solar Panel Layout: horizontal panel installation & vertical panel installation
- Quality & Warranty
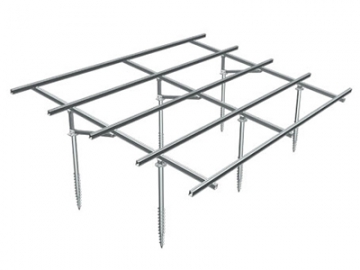
- Structure of solar panel mounting rack for fish farm
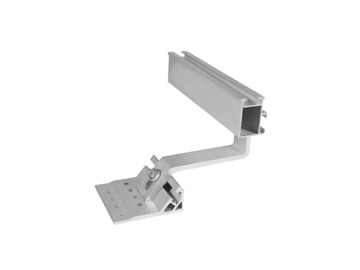
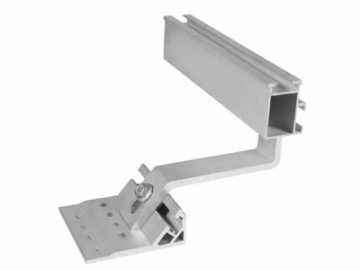
- Clamp
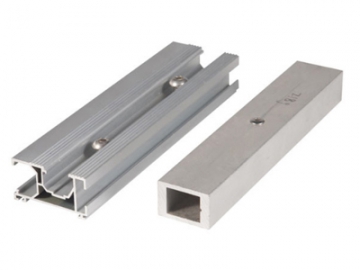
- Lateral view of rail
| Mount Location | Pond , Reservoir | Design Standard | AS/NZS 1170 , DIN 1055 ,JIS C8955 2017 , |
| Mount Base | Prestressed Concrete Foundation | International Building Code IBC 2009 | |
| Mount Angle | 0-45° | California Building Code CBC 2010 | |
| Wind Load | 60m/s | Rack Material | Q235B (Hot-Dip Galvanizing) , Al6005-T5 (Surface Anodic Oxidation) |
| Snow Load | 1.4KN/m2 | Fastener Material | Zn-Ni Alloy & Q235B (Hot-Dip Galvanizing) |
| Ground Clearance | 400~1200mm | Mounting Accessories Material | Al6005-T5 (Surface Anodic Oxidation) |
| Applicable Solar Panels | Framed Panels & Frameless Panels | Column color | Natural Silver or According to Customer |
| Solar Panel Layout | Horizontal Panel Installation & Vertical Panel Installation | Warranty Period | 15 years |
- TUV Test
- Patent
- AS NZS 1170 Certificate
- SGS Material Analysis
- ISO 9001 Certification
- SAAEA
1.End Clamp 2.U21 Mid Clamp 3.Clamp 4.Diagonal Brace 5.Post
Installation StepsRelated products
Send Message
Most Recent
More
Other Products
Videos

